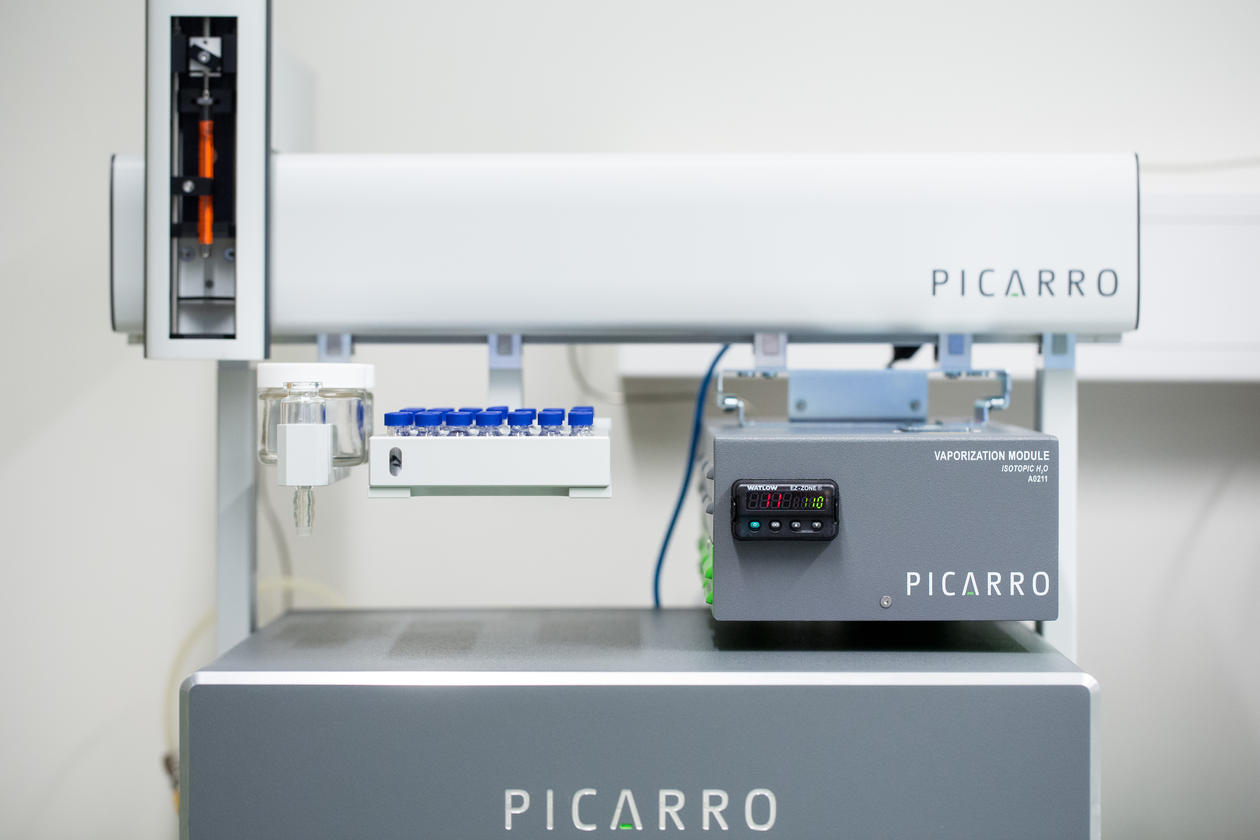
Measurements on the Picarro

Hovedinnhold
Picarro analyzers use time-based, optical absorption spectroscopy of the target gases to determine concentration or isotopic composition (Fig. 1). If you have any questions how to operate, analyze data, maintain or troubleshooting the water analyzer read the user´s manual “Operation, maintenance and troubleshooting L2140-I, L2130-I or L2120-I analyzer and Peripherals User´s manual”.
1. Place the sample vials with the port septa caps upwards in the Picarro trey in the same order as the sample list (the autosample goes from the left to the right).
2. Manually clean the syringe or exchange the defect syringe with a new one.
How to clean syringe:
a) Press “Change syringe” in autosampler window.
b) Take the syringe out from the autosample.
c) Clean it with distilled (DI) water, acetone, ethanol and again with DI water (10-20 injections for saltwater and 5 injection for freshwater).
d) If the syringe plunger does not move smoothly through the barrel, carefully spin the plunger with your fingertip.
NB! Be careful to NOT pull out the plunger aggressively of the syringe. This can cause the syringe plunger to crumple.
e) Re-insert the syringe carefully back in the autosample by manually depress the metal block holding the syringe.
f) If the syringe is clogged in the middle of a run: Go to Autosample window and press “Stop” and then “Change syringe.”
g) Clean the syringe by carefully injecting DI water from another syringe to increase the pressure at the tip.
h) Repeat c)-e) if the syringe is clogged.
i) Click on “Swap on”. If you cleaned the syringe in the middle of a run press “Resume” and then “Start”.
3. Replace the dirty line/salt trap with a clean one (does not apply for freshwater Picarro HKDS2038) and change/clean salt from the port septum with tap water and wipe it with kim wips
How to change the salt line and port septum:
a) Remove the protective metal cover/wrench around the injection port and unscrew the cap of the port only with the wrench supplied on the vaporizer.
WARNING! THE BOTTOM OF THE CAP IS VERY HOT.
b) Take out the septum (that usually sticks to the salt line) and the salt line with a tweezers.
c) Replace the dirty salt trap with a clean one and make sure the rubber seal/o-ring is in placebefore placing the clean salt line back into the injection port.
d) Insert a clean/new septum into the cap.
e) Screw the cap by hand. Fingertight.
CAUTION! DO NOT USE THE WRENCH.
d) Place the metal cover around the injection port.
4. Make sure the temperature stabilizes at 110 ºC.
5. Control the pressure of nitrogen (the dry gas should be right below 0,20 bar). Dry nitrogen should be supplied to the instrument to achieve the appropriate injection concentration. The best results of injections of liquid sample should provide a concentration around 19-21 000 ± 1000 ppmv to the instrument. The data will be available in the graphical user interface (GUI) as pulses in the CRDS data viewer window.
Adjust the syringe injection volume in autosampler window (method) if needed. The injection volume is influenced by different syringe. For a quick check on current syringe volume choose “High throughput“ in the Coordinator launcher. At the moment the injection volume is 1.6 µlon the saltwater Picarro to reach 20 000 ppm.
6. Return to the Autosampler window to control the boxes/fields in "job queue" and change method/parameters for your analysis if needed (Fig. 2). The current method is running 12 samples (two blocks of samples). 10 injections (4 wet flush injections and 6 sample injections) are run per sample and 16 injections (4 wet flush injections and 12 standard injections) are run per standard. To prevent memory affects DI water is run after each block of samples
7. Make sure the pipette is injecting the septa cap and the injection port in a right position. Bad injections can clog the needle and damage vaporizer septum, which cause incorrect concentration peak.
8. Close the Coordinator window before you open it again by double-click on the “Coordinator launcher” icon at the desktop. Choose your coordinator of interest (High prec double wet peak) and then press launch. Wait until the lower part of the window signalize that the vaporizer is cleaned and you can start wet flushing.
9. Return to the Autosampler window and press “Run”.
10. Return to Coordinator window to load/reload the sample description file by clicking on “load sample descriptions” (sample list). This allows the user to include descriptions for each vial in the data file output on the coordinator window (Identifier 1 & 2). You can load the sample description files at any time during the data collection.
NB!The file must be in comma separated value (CSV) format.
From the Coordinate window, you will be able to see the results from the sample analysis, see the current status of your analyzer and load sample descriptions. In the upper portion of the window each row represents the analysis results from a single injection. The lower portion of the window displays the action that is currently taking place.
(“New output fil button” is used to save the data that you see on the coordinator window into a file, and then clear the data from the coordinator window.)
11. Go to Notepad ++ software (Note picarro-L2140i-HKDS2039-log) at the desktop to log your run and then click "Save" to confirm.
12. For saltwater Picarro, make sure it is a clean salt line for the next run. Take the beaker with dirty lines to Prep-lab (TC15a). Rinse the beaker with DI water before putting the beaker in an ultrasound bath for about 3 minutes. Rinse the salt line again in DI water before putting the beaker in the hot oven (70 degree). When it´s clean and dry place the clean salt lines into the plastic box in CF-lab (TE15d).