Technical user guide for UiB Learning Arena
How do I connect my computer and manage displays, microphones and speakers? Please read through our step-by-step description of how to use the audiovisual equipment in Storsalen and each of the seminar rooms in the UiB Learning Arena.

Main content
General information about audiovisual equipment in the seminar rooms:
Each of the five seminar rooms is equipped with screens, microphones and controllable cameras, as well as connection cables for your own laptop/Mac. There is therefore no PC in any of the rooms. All organizers of an event, course or seminar must therefore bring their own computer.
If you have connection problems, you can contact BRITA directly on tel. 55 58 47 00 (between 08:00 and 15:45)
Three of the rooms are also so-called Teams rooms, which means that the room itself can be a meeting participant, just like other participants. The Teams rooms can of course also be used as normal, with only participants present in the room.
There is a slight difference in how you connect your computer to the monitors, microphones, and cameras in these Teams rooms versus the other two rooms, especially when using Teams. The two room types are therefore described separately below.
Søndre Allmenning 1 and Nordre Allmenning 3:
Connecting your laptop to the screens in the room:
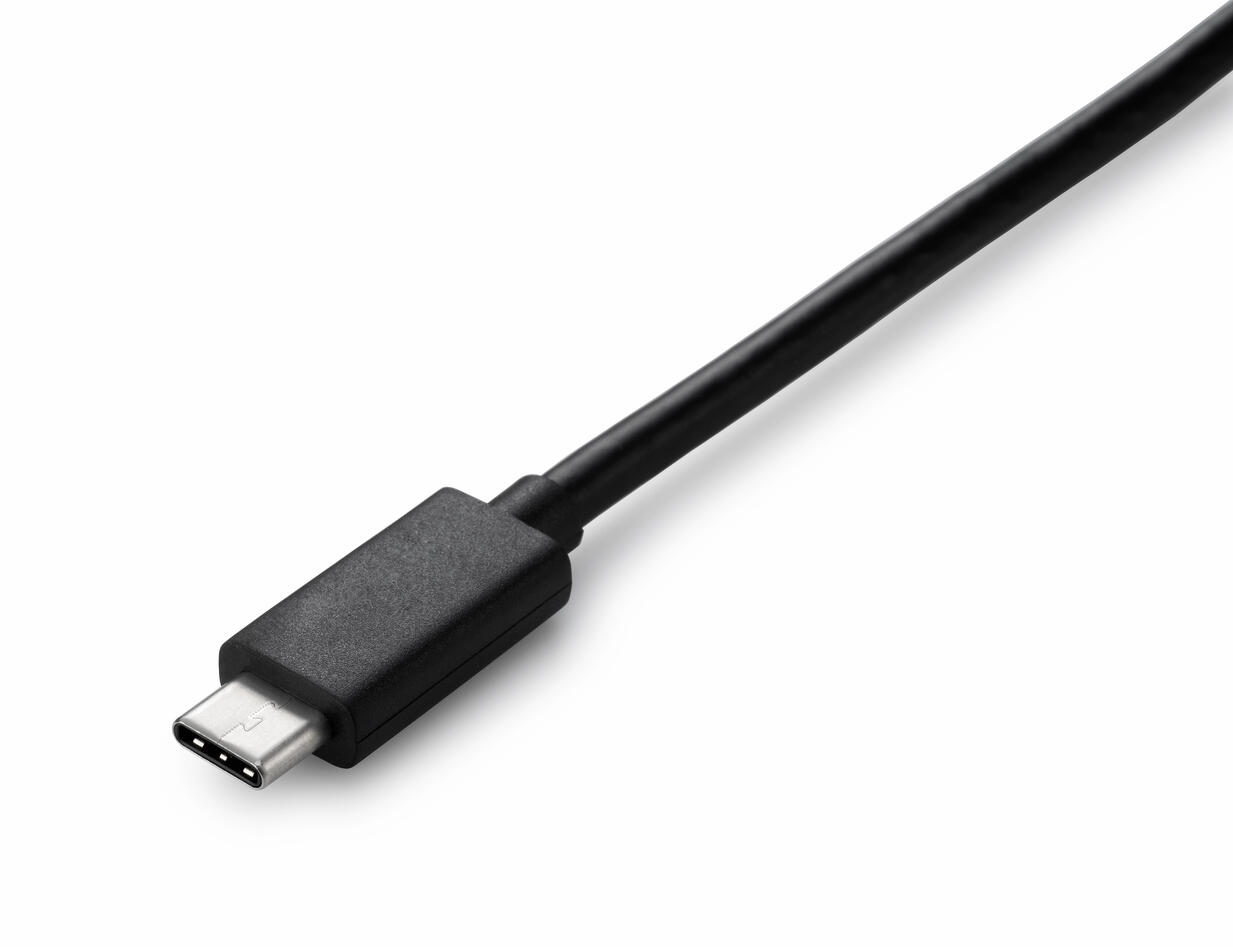
- Connect your laptop (pc/mac) via the USB-C cable that you will find by the catheter in each room
- Screens will start automatically. The projector and screen will do the same in Søndre Allmenning 1. Note: It takes 5-10 seconds
- Connection with a USB-C cable also provides automatic connection to speakers, microphones and cameras in the room, if you need this
- You can control the microphones and cameras from a small, touch-controlled control panel that you will find by the catheter in the room. Read more below
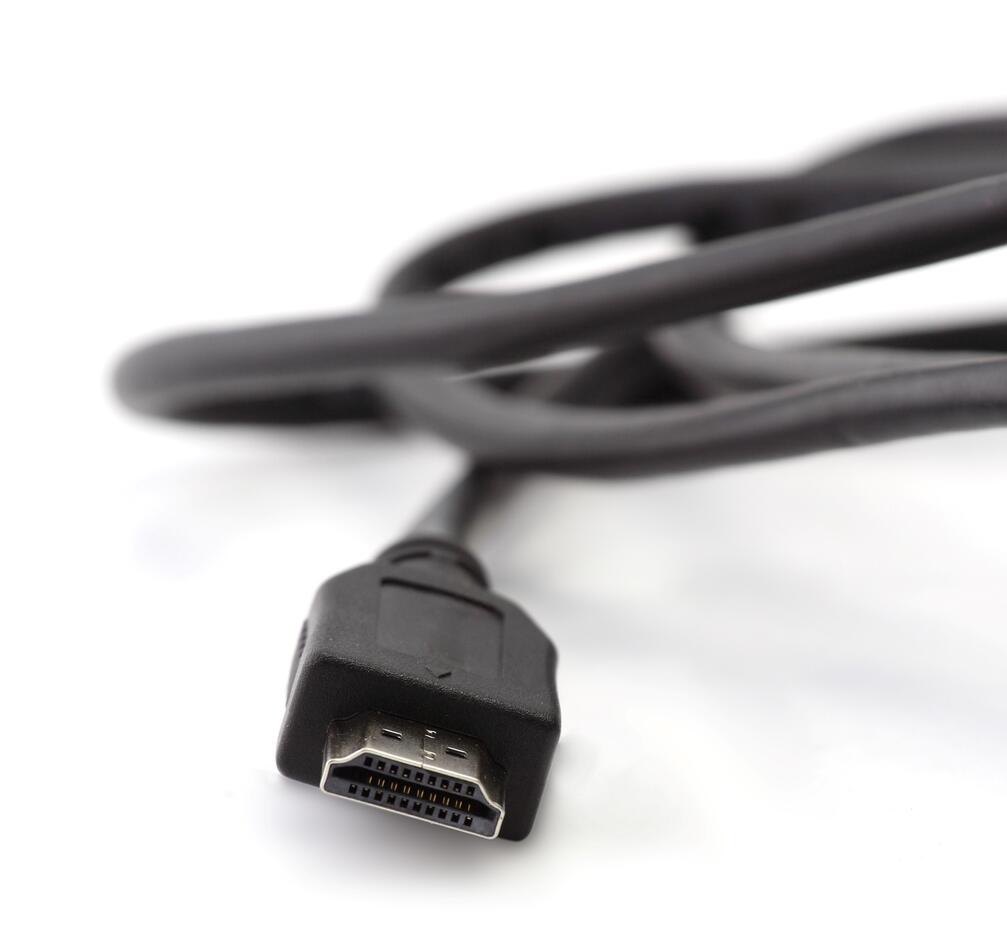
- Alternatively, you can connect via HDMI cable or wirelessly. Note: Does not provide access to camera/microphones, you only get that by using the USB-C cable
Use microphones:
There are good acoustics in the rooms, but if you have many participants in the room, it may be necessary to connect microphones, which are built into the ceiling. You must also connect the microphones if you are going to use Teams, so that external participants can hear everyone in the room.
- The microphones will usually be muted (lit red) and must be activated before use. Tap the mic menu on the control panel and tap “mute ceiling mic” to mute or unmute. The ceiling microphone lights up green when it is active.
- In addition, there are two wireless microphones and one handheld that can be used simultaneously. These turn on automatically when removed from the charging dock. Remember to put the microphones on charge again.
Use cameras:
If you are going to use Teams, for example, you can activate the camera in the room, so that those participating via Teams can see everyone in the room.
- The camera is mounted on the ceiling and can be turned around, up and down, depending on what you want to include in the picture
- You can adjust the camera view on the control panel (pan, tilt, zoom in/out)
How to use Teams:
The following applies to the use of Teams in the two largest seminar rooms, Søndre Allmenning 1 and Nordre Allmenning 3.
- Connect your laptop via USB-C cable, as described in the general introduction
- Open the Teams app on your laptop and select the correct microphone and camera source in the Teams settings
Note: In these two rooms, only wired connection via USB-C gives access to the camera and microphones in the room.
If you use an alternative connection via an HDMI cable or a wireless connection via Airtame (see below), you will not be able to use the camera/microphones in the room. Audio/image output to Team participants will then only be output locally from your laptop.
If you are only going to present on screens from your own laptop, there are also two other alternative connections without using a USB-C cable.
Note that these connections do not give access to cameras and microphones in the room, so these connections cannot be used for Teams meetings. If you want to use Teams, you must connect with a USB-C cable as described in the introduction.
Connection with HDMI-cable:
You can connect your computer with an HDMI cable to each screen in the room, to display sound and image on the respective screen. This may, for example, be relevant if:
- You only want to present on one screen (applies to rooms with two or more screens)
- There are two or more of you who will present different things, each on their own screen
Connections other than USB-C/HDMI require that you bring your own adapter.
Wireless connection via Airtame:
- Download the app Airtame via airtame.com/start
- Enter the IP-adress of the screen you want to use for display (The IP-adress will be present on the screen)
- Choose what you want to disply, either your entire laptop screen or only a spesific window
- Enter the pin code that appears on the screen
Søndre Allmenning 2, Nordre Allmenning 4 and 5
Three of the seminar rooms are so-called Teams rooms. This applies to Søndre Allmenning 2, Nordre Allmenning 4 and 5.
The Teams rooms work in the exact same way as other rooms, if you are only going to have a presentation for participants in the room. But these rooms have a special Teams function, which makes connection to Teams a little different:
Connect laptop to the screens:
- Connect your laptop to the screen(s) with HDMI-cable (evt. HDMI-cable with a USB-C extention)
- The screens will start automatically (note: there are a few seconds delay)
HDMI-cable is necessary to get connected to speakers, microphones and cameras in the room. The Teams rooms are relatively small, so microphones will normally not be needed, unless you connect to a Teams meeting with remote participants, se below:
Use Teams:
That these rooms is "Teams rooms" means that the room itself has a built-in Teams user, who can participate in and be invited to meetings in the same way as individual participants. This means that each individual participant who is in the room should not join the team meeting via their own PC, neither should you as the host of the Teams meeting.
Teams is controlled from a wall-mounted control panel. To start or join a Team meeting:
- Meet: Starts a Teams meeting, and lets you search for names to invite participants
- Call: Enter a name to start a conversation with another Teams user
- Join via a meeting ID: If you have an invitation to a Teams meeting, you can enter the meeting ID from the invitation to join the meeting via this room
- Share: Here you can share the screen from your own PC, to the display screens in the room and to other participants in the Team meeting
Teams functions, camera and microphones:
Teams functions are controlled at the bottom of the control panel. Here you can mute the sound, raise your hand/react, switch the camera on and off, and mute the microphone.
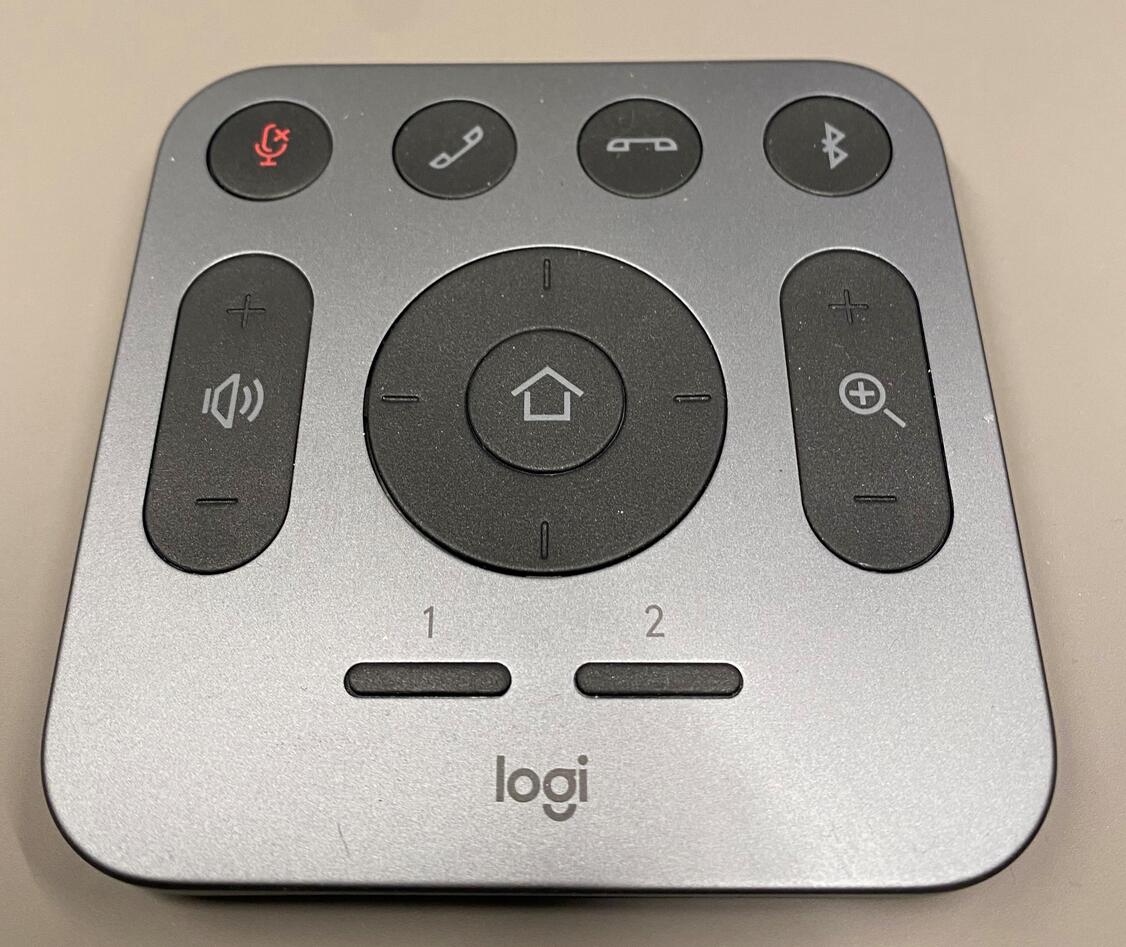
The camera image can be adjusted with the Logitech remote control found in the room.
Microphones are built into the ceiling and pick up sound from the entire room, unless muted from the menu on the control panel.
Share screen in Teams meetings:
- Connect to laptop with HDMI cable
- Tap the screen sharing icon on the control panel (bottom right), select HDMI, and tap Share. The screen from the connected PC is now displayed in the Teams meeting.
Note: It is not possible to connect the camera and microphones in the room to the Teams app on your own PC. If the room participates in a Teams meeting, feedback can occur if you or other participants in the room also open the same meeting on a laptop.
Teams rooms
- Søndre Allmenning 2 (1B201)
- Nordre Allmenning 4 (1B801)
- Nordre Allmenning 5 (1B802)
Other rooms
- Søndre Allmenning 1 (1D201)
- Nordre Allmenning 3 (1C601)
- Grupperom A, B og C